Freeing Up Mac Storage the Right Way (Spoiler: Don’t Just Buy an External Drive)
- Technology Paul
- Apr 28, 2025
- 4 min read


Free Up Mac Storage So You Can Get Back To Using Your Computer
When that yellow “Your disk is almost full” banner hijacks your productivity, the knee-jerk reaction is to plug in another SSD and shovel files onto it. That’s a band-aid solution at best.
A smarter approach keeps your Mac running fast, your files organised, and your wallet intact—and it scales across macOS versions, including 2025’s macOS Sequoia.
This walkthrough shows you how to free up space on a Mac, tame “System Data”, and tune Apple’s built-in “Optimise Storage” features so they actually help instead of secretly offloading everything to iCloud.
Start with a proper storage diagnosis
Before you can take action, it's helpful to know where things stand.
Go to System Settings ▸ General ▸ Storage, which gives you a category breakdown—Apps, Photos, System Data, etc. macOS Sequoia finally updates this screen in real time instead of on a 60-second delay.

If you want to know why any particular item is taking up so much space, just click the i-button beside an item, like Applications, to see what's taking up so much space.
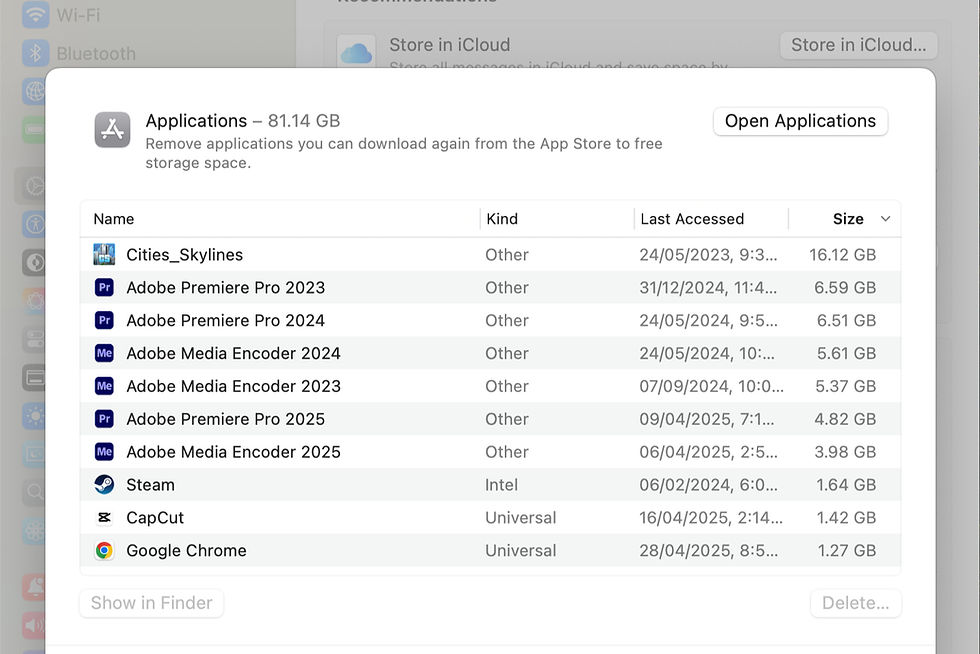
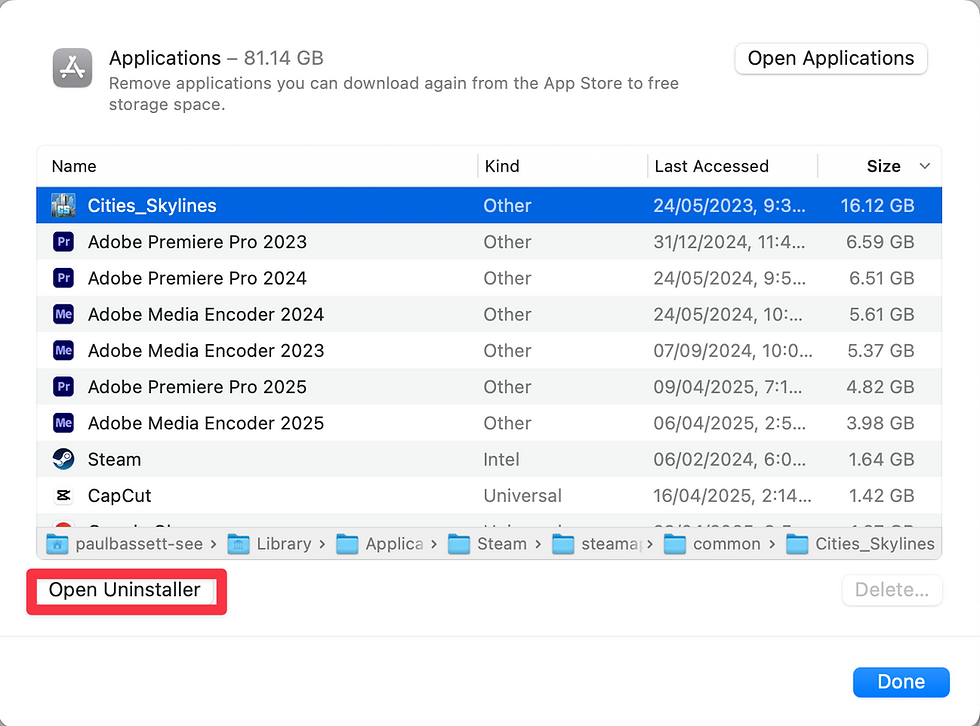
In applications, some apps, when selected, will show a button "Open Uninstaller". That's how you would go about removing that app.
Other apps will show a "Show in Finder" button on the left, as well as a "Delete" button on the right. In this case, no special uninstaller is required. Pressing delete will simply move that application to the trash.

Apply (but tweak) Apple’s Storage Recommendations
When viewing the Storage settings, you may find some recommendations like the ones shown below.
Store in iCloud: Shifts Desktop/Documents to iCloud Drive and keeps only lightweight “pointers” locally. If you're low on storage, go ahead and turn this on.
Optimise Storage: Auto-purges watched TV and Movies. Since you can always re-download the content, this is a no-brainer.
Empty Trash Automatically: Automatically deletes (permanently) anything in your trash after it's been there for 30 days. This is great for people who never remember to empty their trash bin.

Keep Going Down The List Of High Storage Items
Just keep working your way through the list in Storage Settings, Clicking The "i" beside each item.
You will be surprised how much stuff is taking up space on your computer.
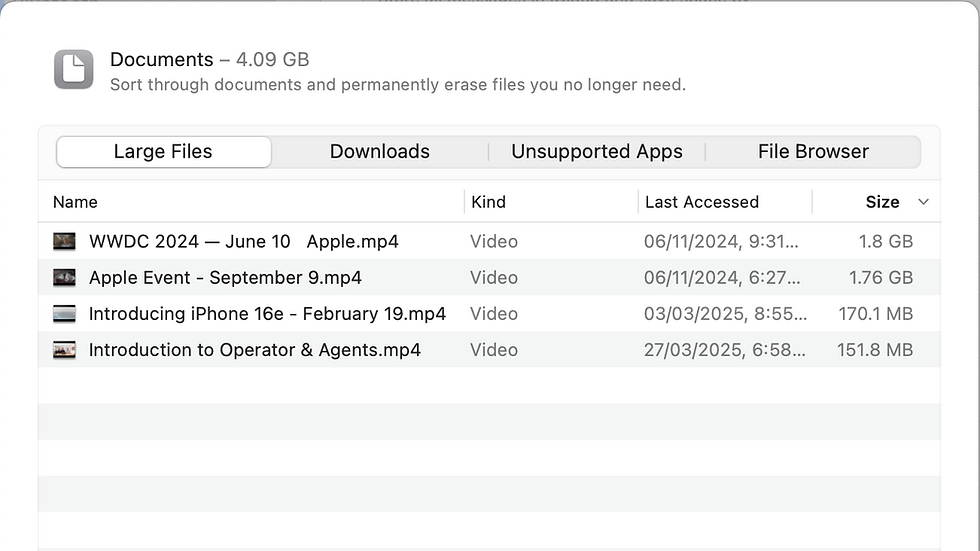
The Documents item will show you a list of your large files, for example. From here, you can make a decision about which ones to delete.
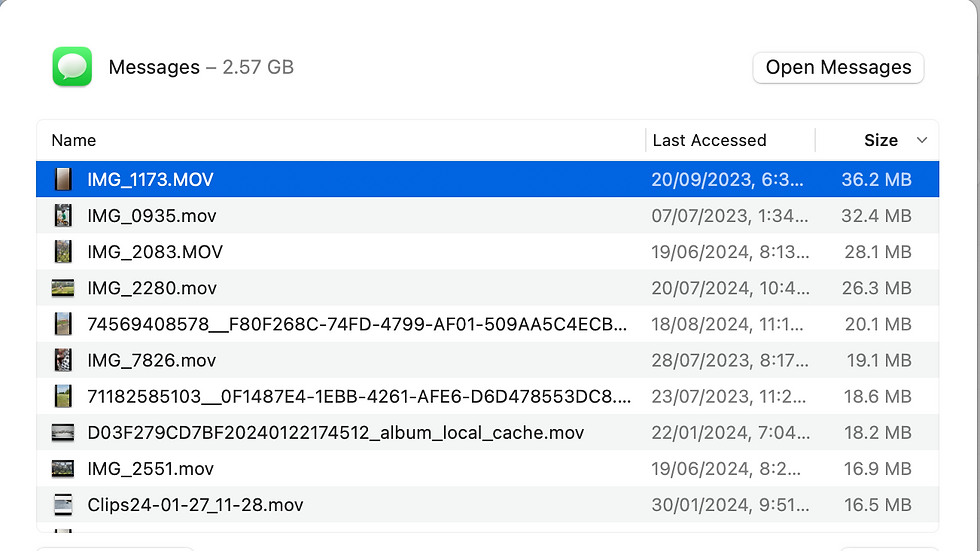
The Messages item will show you all of the large attachments that have been sent to you over time. These are taking up space on your Mac! Pro tip: just select an attachment and then hit the space bar to see it pop up on your screen. Hit the space bar again to dismiss it. This allows you to review each attachment before you delete it.
Maybe you have items listed that are completely not needed. For example, Music Creation. I don't use GarageBand at all, so it's safe for me to hit Remove GarageBand Sound Library here. That might be an option for you as well.

Podcasts can be another big culprit. Clicking the "i" beside Podcasts allows you to see the individual episodes which are taking up space, and delete them.

Use App-Specific Settings To Make Sure They Use Storage Smartly
Podcasts
Speaking of Podcasts, while it's useful to delete episode by episode, you can make sure Podcasts never use that much storage again. To do so, you'll need to go into the Podcasts application.
Once you're in Podcasts, Click Podcasts > Settings. Under General:
Make sure you have "Remove Played Downloads" checked. This will make sure that played episodes are automatically removed from your computer.
Set Automatically Download to either "Latest Episode per Show" or "Off" to save on storage.

Music
In Music, go to Settings.
Under General, make sure Automatic Downloads is not checked. This will require you to manually select which tracks to download, but it will save you a ton of space!

Apple TV
The same goes for the TV app.
In Settings > General, make sure automatic downloads are turned off.

Mac Cleaner Apps
If, after you've done all this, things are still not under control, you could consider a Mac Cleaner app, such as CleanMyMac by MacPaw. These types of apps can help "crush the biggest chunk of unneeded system files, hidden clutter, broken downloads, and 20 more types of junk."
But be aware that CleanMyMac costs ~$50 a year, so I would only go this route if you've exhausted the other options.
Keep Your Mac Storage Cleaned Up Regularly
Keeping your Mac storage cleaned up can be a regular activity. It might be good to make a note to do it monthly, so things don't get too jammed up. It's better to keep things under control and maintained than to have to deal with immediate storage issues at the worst possible time!
Exploring Tech Together,
Paul


Comments